How to Stitch Photos to Panorama
We're sure that many times you've been out sight-seeing, at the beach, out on a hike or even just at the park and thought - I need to get a picture of this! But not just any old pic of what's immediately in front of you, a panoramic pic! This is often a lot more challenging than expected because even if you have a camera with this setting option, without a steady hand and a professional eyes, the results can be lackluster. Even if you try to bring the photos together on your computer using other doctoring software, it is never seamless and can be so technical, you just give up all together.
That's where we come in to save the day! With our simple Click n' Stitch approach, you don't have to be a professional photographer or know how to use professional photograph editing software - in fact you don't have to be tech savvy at all! Once you know how to point and select, your panoramic image is just a few clicks away! Still not sure? Well, don't take our word for it, have a go at our Try-Before-You-Buy (hyperlink this) version and play around with the software first. We're confident you'll love using the program!
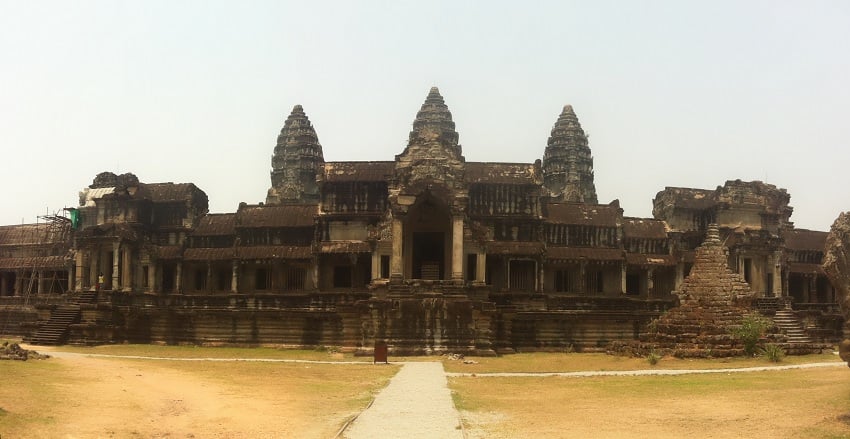
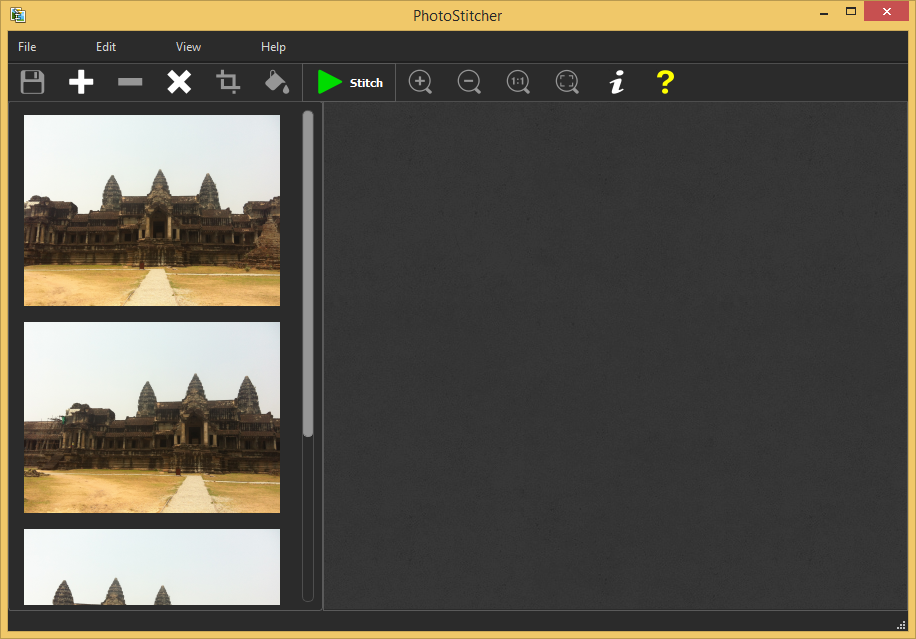
Step 1: Select your photographs from your source folder
Place them on the Photostitch pad.
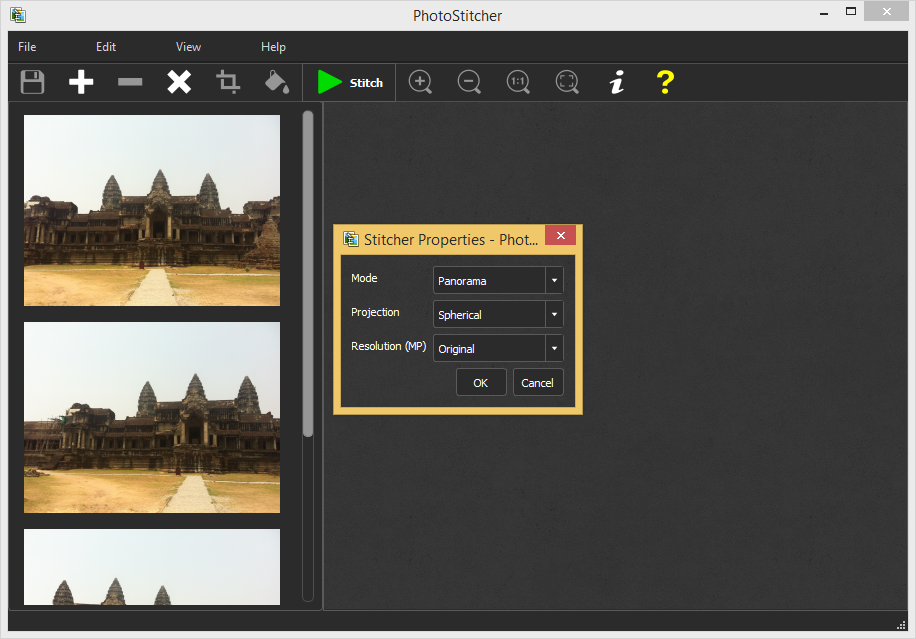
Step 2: Select stitching options
Click "Stitch", select appropriate options and let the program stitch the photograph.
Step 3: Change the clipping rect
You can manually change cropping rect if required or allows PhotoStitcher to auto crop to maximum area.


An alternative to cropping you can fill black areas of panorama using auto fill feature.
Step 4: Enjoy your beautiful Photostitch Panoramic Picture!