How to Scan Oversized Image in Pieces and Stitch Them Together
Converting printed images – blueprints, posters, photographs, albums – of larger formats to the digital form requires you either to have a professional wide format scanner, or to stitch pieces together manually in a graphics editor. The first option costs you thousands of dollars, while the second one is hours of tedious and toilsome work.
And then, there is the third option – PhotoStitcher.
Here is how you can scan a large image with a home scanner and effortlessly put all pieces together using PhotoStitcher.
Step 1: Scan the large image
Use your scanner to scan parts of the large image one by one. Make sure pieces overlap between each other by roughly 30%. You don't need to scan images very accurately. The program will fix all minor discrepancies, distortions and skew automatically.
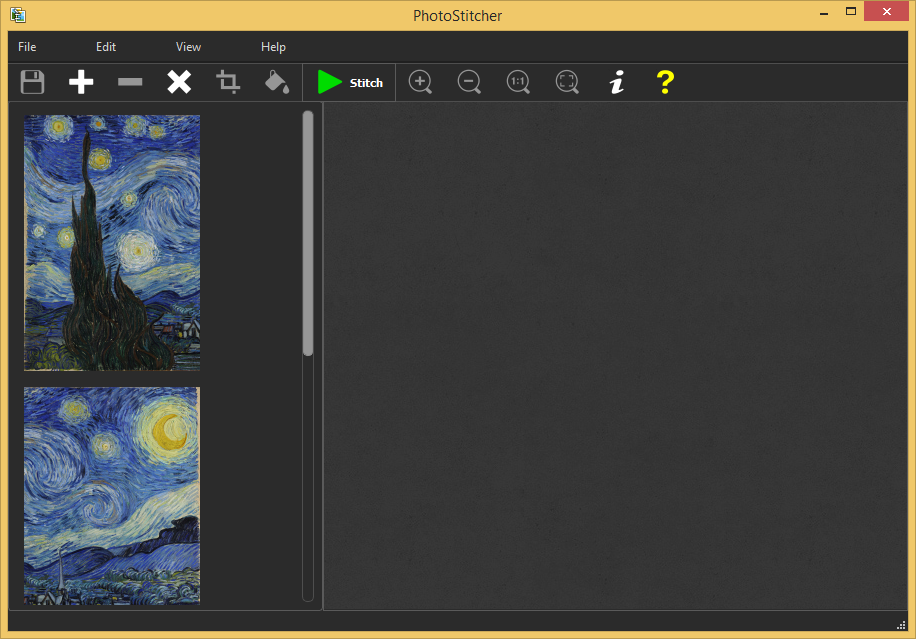
Step 2: Load images to PhotoStitcher
Click the Plus button in the PhotoStitcher. Select all the scanned images and add them to the program. Or you can drag-and-drop these images to the program.
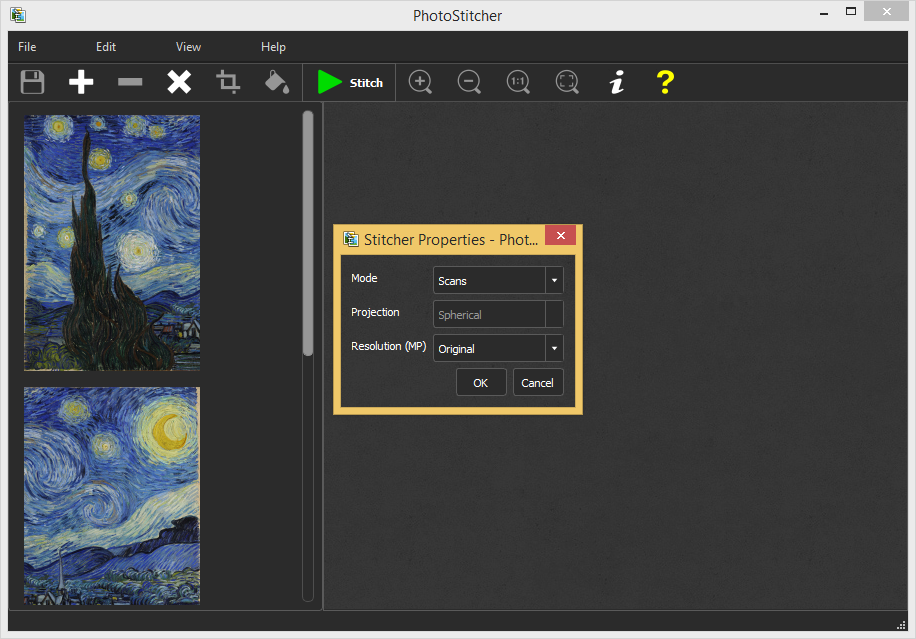
Step 3: Stitch pieces together
Click the Stitch button on the toolbar to automatically combine all parts of the scanned image to one large image. A dialog appears; select the "Scans" stitching mode there and click OK.
PhotoStitcher processes each piece and builds up a large image scan.
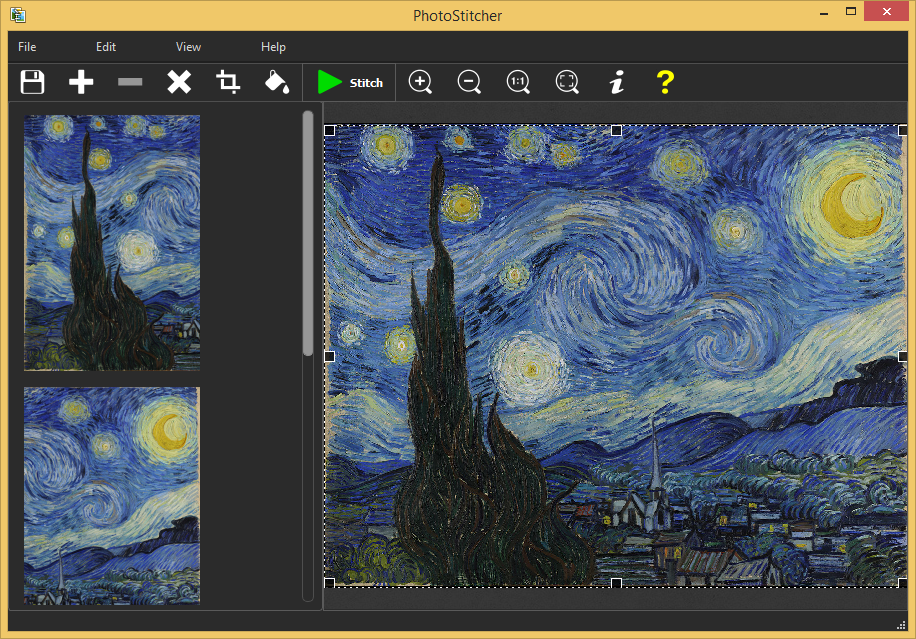
As you can see, the resulting image looks perfect: all pieces are well-aligned, their brightness and contrast are leveled and all geometry distortions are fixed.