How to Seamlessly Stitch Microscope Images Together
Pictures obtained from digital microscope are both entertaining and educational. Unfortunately, to receive a bigger view you often need to combine, align and realign microscope photographs of different parts of the sample. Not a tool complicated task, of course, but neither is it pleasant.
PhotoStitcher provides a nifty and much faster way to merge multiple microscope images into a single picture. Read along to learn how to make a perfect stitching with this excitingly simple tool.
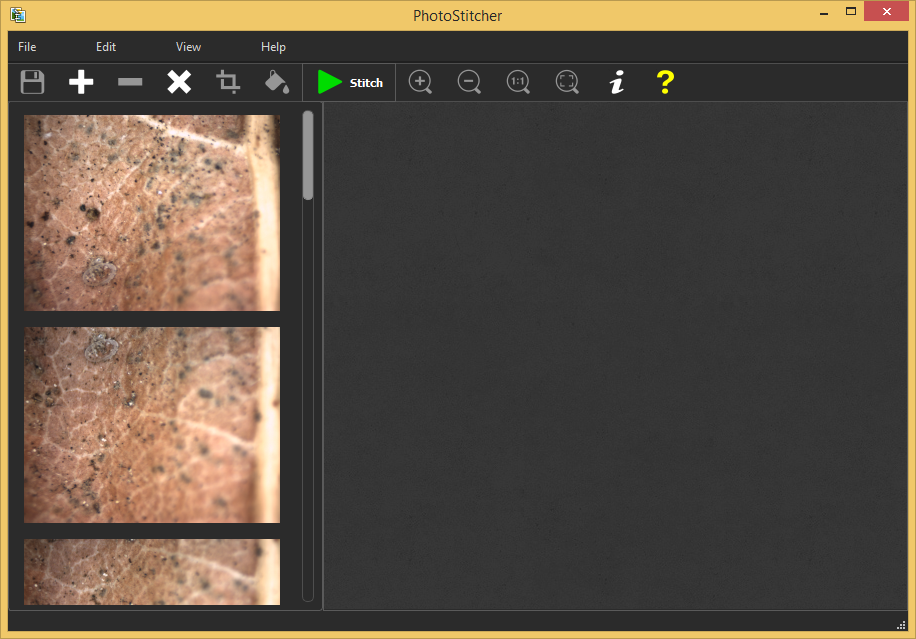
Step 1: Upload all your microscope images to the program
Run PhotoStitcher and click the [+] button on the toolbar. Select all images you want to stitch together. They can be overlapping, non-aligned and such – that doesn’t matter with PhotoStitcher.
Alternatively, you can just drag and drop all images to the window.
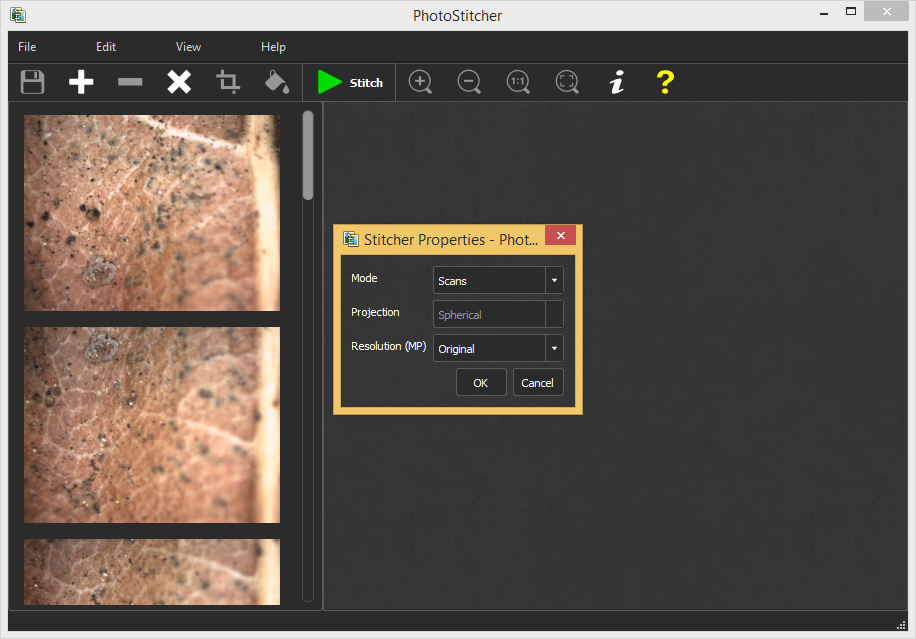
Step 2: Select wrap surface to 'Plane'
Click the Stitch button on the toolbar. But before the images start merging together, you should select the mode for them. For microscope pictures select 'Scans' in the Properties dialog.
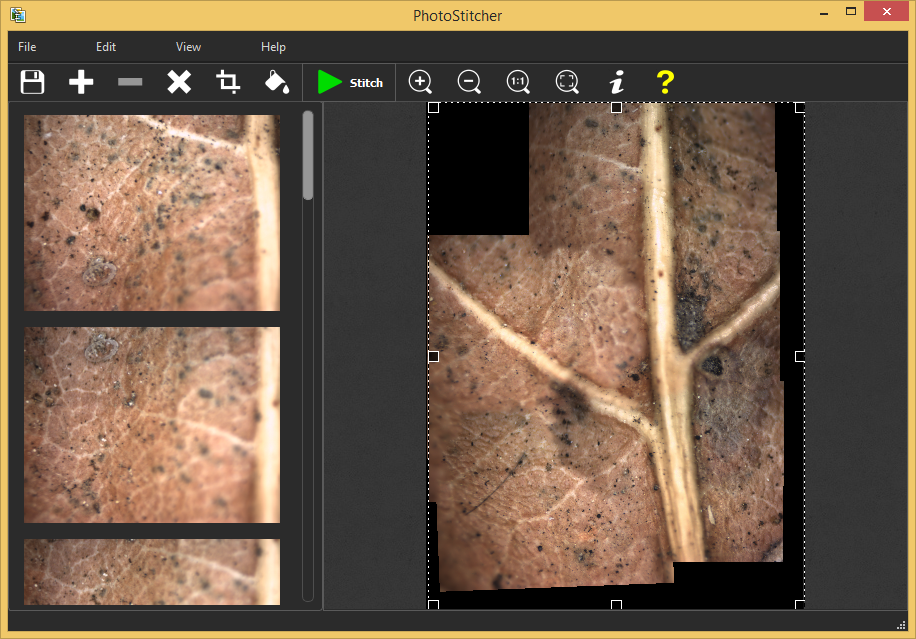
Step 3: Start stitching microscope images!
Now just click OK and wait for the program to process all images. PhotoStitcher automatically aligns images and accurately matches edge to edge and quickly produces continuous picture from multiple source microscope photos. Enjoy!